How Do You Pull Off a 20-Color Whole-Home Interior Repaint? This Taylors, SC Job Shows You.
A full-home interior repaint is already a big undertaking. Add 20-plus intentional colors, two sets of kitchen cabinets, two garages, a media bonus room, partial accent walls requiring laser-level lines, and one wall of brand-new sheetrock that needed mud, tape, float, and primer before a single finish coat went on — and you have one of the more demanding interior jobs TruCare Painters has taken on in Taylors, SC. The crew finished in 9 days. At the final walkthrough, there was not one thing that needed to be corrected.
What Made This Job So Complex?
Most whole-home repaints use one or two accent colors against a neutral. This project was different. A designer had specified more than 20 distinct colors across different rooms and surfaces — dark, saturated tones in the media bonus room above the garage, bolder choices throughout the bedrooms, and two full sets of kitchen cabinets that each needed their own prep and finish process.
The garage spaces added another layer. One garage wall had all-new sheetrock installed before the crew arrived, which meant TruCare couldn't just prime and paint. They had to mud, tape, and float that wall first, then prime it properly before any finish work could happen. The media room required significant seam repair on top of the heavy color work.
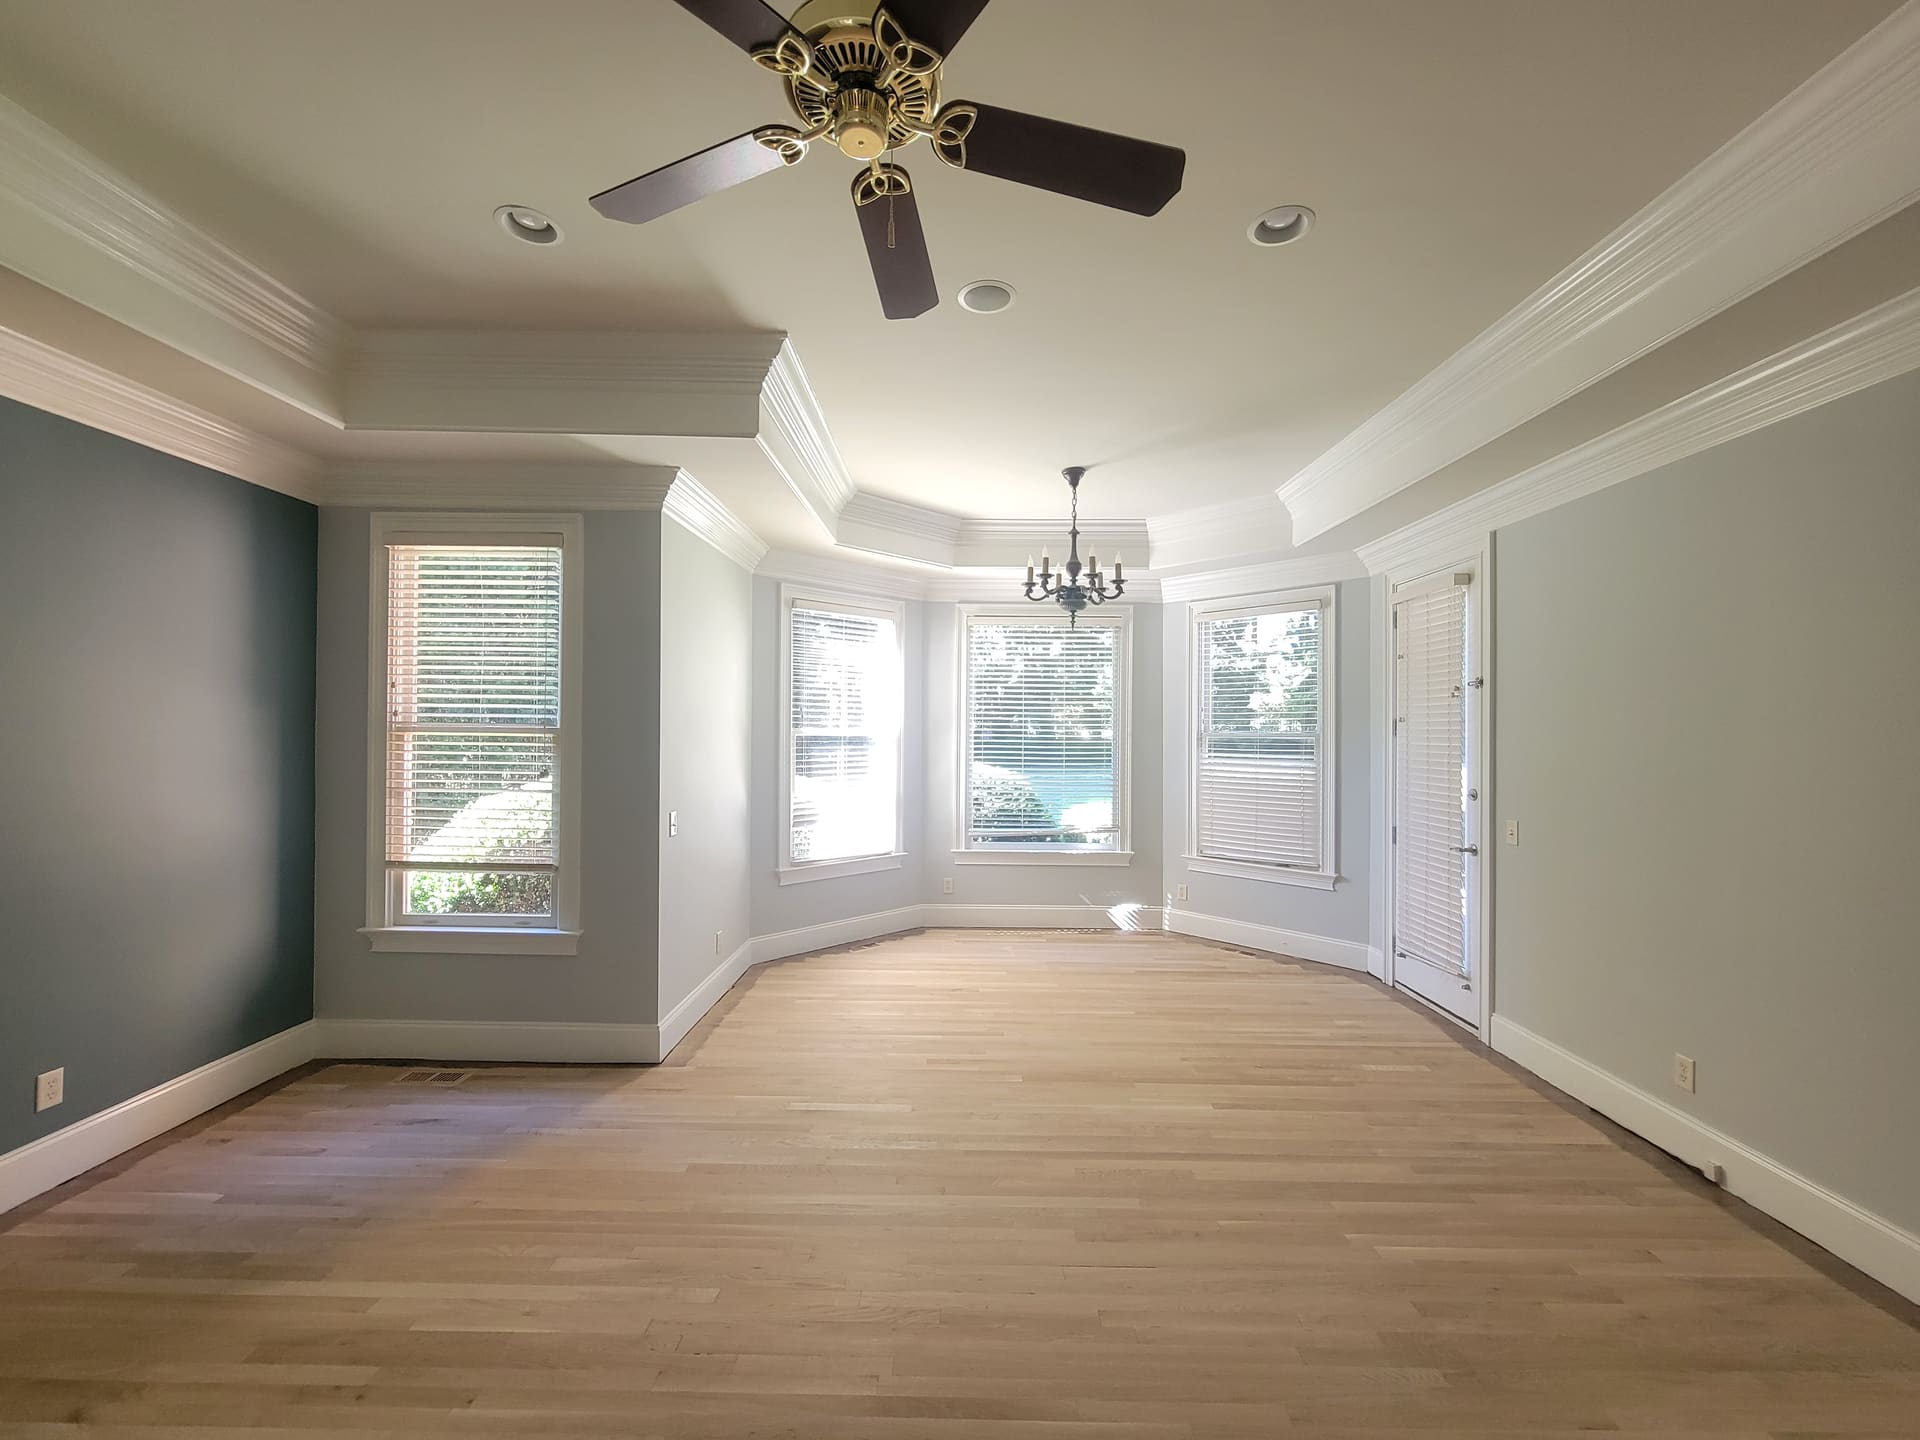
Then there were the accent walls. These weren't full-wall colors — they were partial walls with defined edges. Getting a clean, straight line between two bold colors on a partial wall takes more than a steady brush hand. The crew used a laser level to set every line. That's the only way to get it right across an entire house without relying on guesswork or eyeballing angles that look off the moment you step back.
Translating a Designer's Color List Into Something a Paint Crew Can Actually Execute
One of the real challenges on a job like this isn't the painting itself — it's the communication between a designer's vision and what a crew can work from efficiently on-site.
Designers speak in moods, palettes, and relationships between colors. Painters work from product names, sheen levels, surface assignments, and sequence. Those are two different languages, and if the translation is sloppy, you end up with colors applied to the wrong surfaces or a crew stopping constantly to ask questions.
For this job, TruCare built out a detailed color and surface document that took the designer's specifications and turned them into room-by-room, surface-by-surface instructions the crew could follow without ambiguity. That paperwork is not glamorous, but it's what allowed Oscar and Roberto to move through a 20-plus color house efficiently and in sequence, without bottlenecks or rework.
The investors on this project were working with TruCare for the first time, referred by their realtor. There was no room for confusion or corrections. Getting the paperwork right before the brushes came out was as important as the paint itself.
Product Choices: Why Different Surfaces Got Different Paint
Not every surface in this house got the same product, and that was intentional.
The wall areas throughout the home used PPG Hi-Hide. It's a consistent, reliable product for interior wall coverage — especially useful when you're laying down a long list of different colors and need predictable hide and finish quality across all of them.
Trim and doors went with Sherwin-Williams Emerald Urethane. This is a harder finish that holds up to contact and cleaning better than a standard latex. On doors especially — which get touched, closed, and bumped constantly — a urethane-based product makes a real difference in how long the paint job holds up.
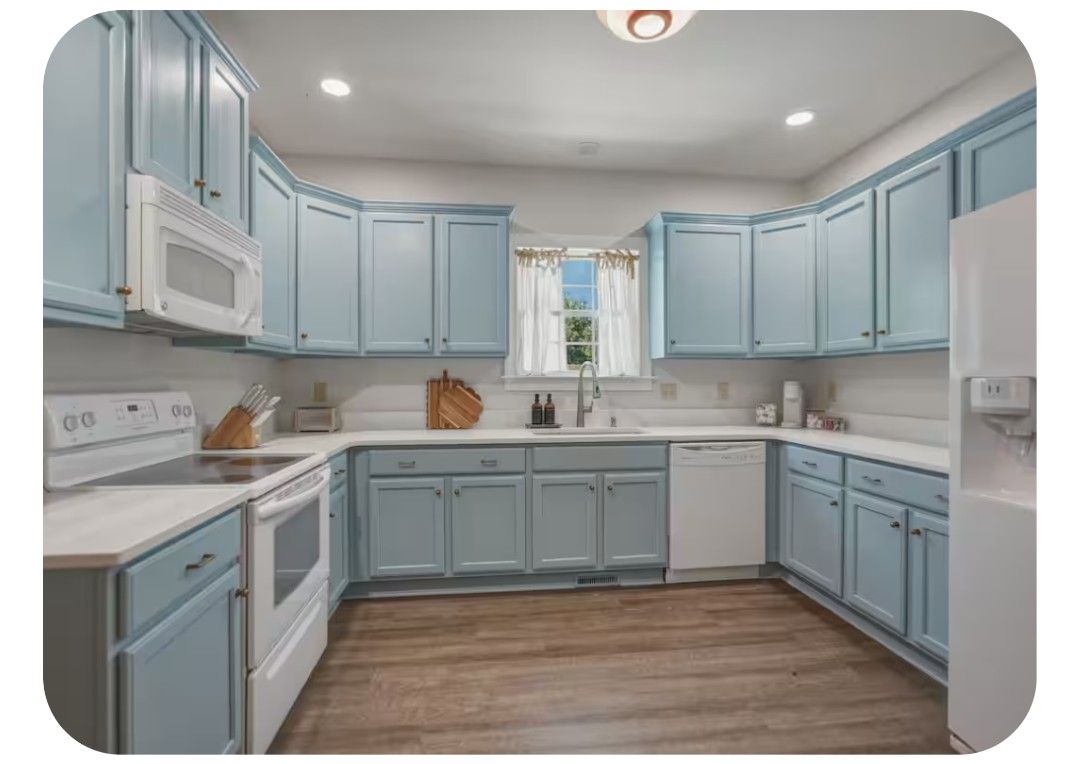
Both sets of kitchen cabinets got Sherwin-Williams Gallery. Cabinets are a high-demand surface. They get wiped down, opened and closed dozens of times a day, and they're usually the first thing people notice in a kitchen. Using a product specifically suited to cabinetry means the finish stays cleaner longer and doesn't scuff or peel prematurely.
Matching the product to the surface is basic to doing this kind of job right. Using one paint throughout would have been faster and cheaper — and it would have shown.
How the Crew Managed 9 Days Across That Many Surfaces
Oscar and Roberto were the two-person crew on this job. Two people covering both garages, all bedrooms, a media bonus room, two sets of cabinets, trim, doors, and 20-plus colors in 9 days is not a pace you hit by moving fast and fixing mistakes later. You hit it by sequencing correctly and not having to redo anything.
The sheetrock wall in the garage had to go first — mud, tape, float, dry time, primer — before that space could take any finish work. The media room seam repairs ran parallel where possible. Cabinets were handled on their own timeline because the product and process are different from wall work. Accent walls came after the base colors were locked in, so the laser-level lines could be set against a finished surface rather than adjusting later.
This kind of job doesn't reward rushing. It rewards working in the right order. The 9-day timeline held because the sequence was planned before the crew arrived, not figured out on the fly.
The Finished Result: What 20 Colors Done Right Actually Looks Like
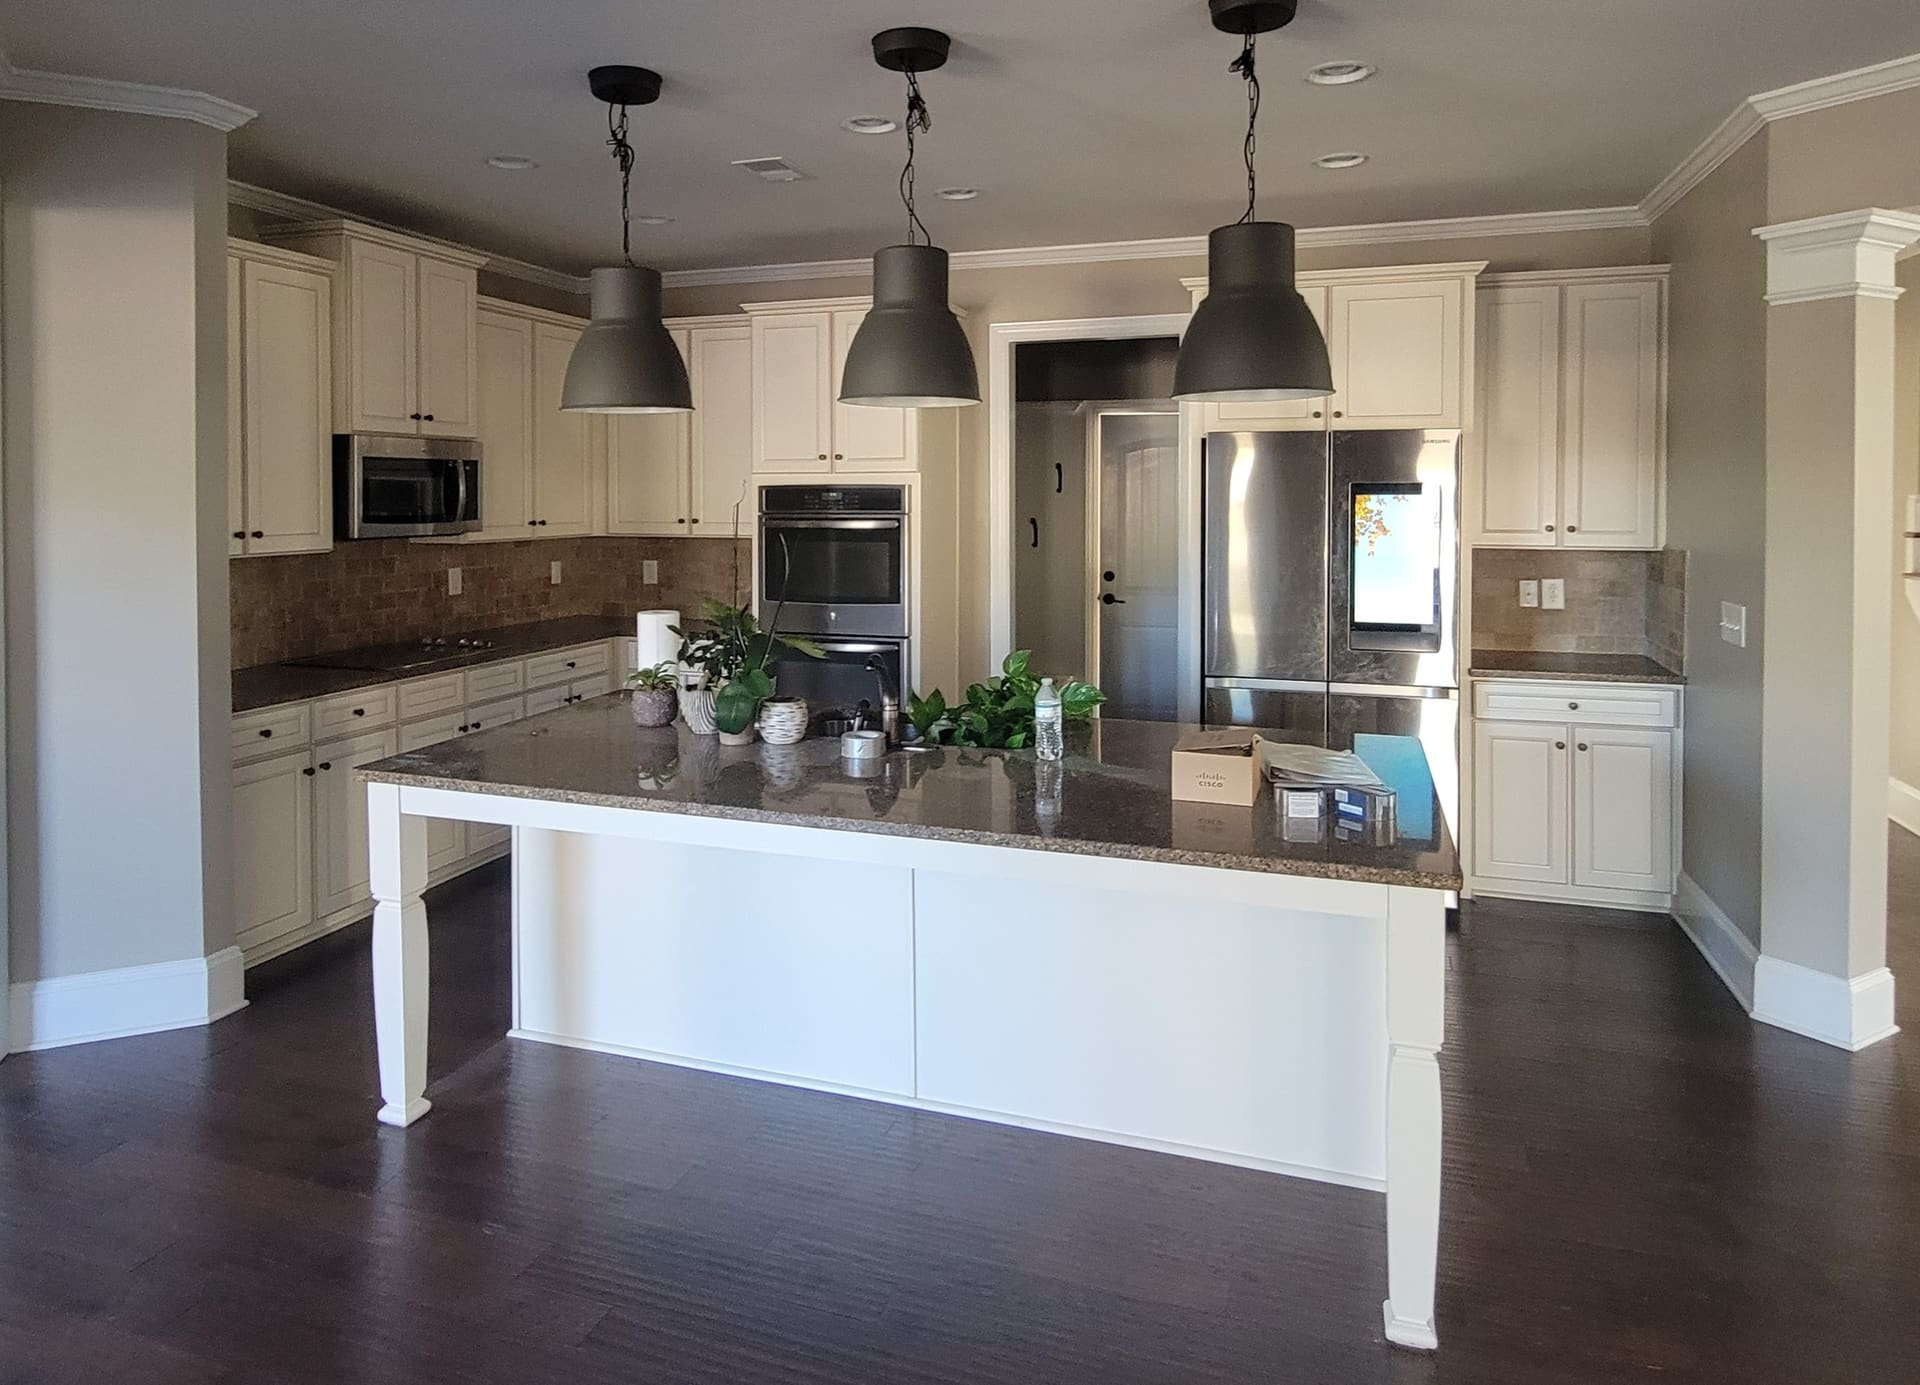
Walk through this Taylors home now and every space reads as intentional. The dark, rich tones in the media bonus room feel like they belong — the seam repairs and proper primer underneath mean the color lays flat without flashing or texture irregularities giving it away. The accent walls stop cleanly at their lines. The cabinets have an even, hard finish. The trim and doors are crisp in Emerald Urethane against whatever wall color sits behind them.
The final walkthrough was the test. On a job this detailed — 20-plus colors, multiple surface types, new sheetrock in one area — it would be reasonable to expect at least one correction. There wasn't one. Every surface, every color, every line was right.
That's the result of the prep work, the right products, and two painters who know how to work together through a complicated sequence without losing track of where they are.
Frequently Asked Questions
How long does it take to repaint an entire home interior with multiple colors in Taylors, SC?
It depends heavily on the number of colors, surface types, and any prep work required. This Taylors project — 20-plus colors, two garages, two sets of cabinets, a media bonus room, and one wall that needed full sheetrock mudding and taping — took 9 days with a two-person crew. A simpler whole-home repaint with fewer colors and no drywall repair would typically run faster. The more color transitions and surface variety you have, the more time proper sequencing and drying windows add to the schedule.
What paint do professional painters use on kitchen cabinets in Taylors, SC?
On this Taylors job, TruCare used Sherwin-Williams Gallery for both sets of kitchen cabinets. Cabinet surfaces take more wear than walls — constant opening, closing, and wiping — so they need a product that cures hard and resists scuffing. Standard latex wall paint is not the right choice for cabinets. A dedicated cabinet product like SW Gallery holds up longer and keeps its finish cleaner over time. For more detail on what goes into a cabinet project, see our cabinet painting guide.
How do painters get razor-straight lines on partial accent walls in Taylors, SC?
Tape alone isn't reliable for long, straight lines across partial walls, especially when two bold colors meet at a defined edge. On this Taylors project, the crew used a laser level to set every accent wall line before taping or cutting in. A laser level projects a dead-level reference line across the wall regardless of floor or ceiling variations, which is the only way to get consistent, straight transitions at the scale of a full home with multiple accent walls.
Do painters in Taylors, SC handle drywall repair before painting, or does that have to be a separate contractor?
TruCare handled both on this Taylors home. One garage wall had all-new sheetrock that needed to be mudded, taped, floated, and primed before any finish coat could go on. Keeping that work in-house matters for sequencing — a separate drywall contractor adds scheduling gaps and handoff risk. If your project includes new or damaged sheetrock, ask your painter upfront whether they handle prep in-house or whether you'll need to coordinate a separate trade.
Is it worth using Sherwin-Williams Emerald Urethane on interior trim and doors in Taylors, SC?
For high-contact surfaces like doors and trim, yes. TruCare used SW Emerald Urethane on all trim and doors throughout this Taylors home. Urethane-based finishes cure harder than standard latex, which means they resist nicks, fingerprints, and cleaning better over time. The upfront cost per gallon is higher than a basic trim paint, but doors especially take a lot of daily contact — a harder finish holds up noticeably longer on those surfaces.